Chapter 2: Deploying oVirt and Gluster Hyperconverged
Pre-requisites
-
You must have 3 Enterprise Linux 8 hosts or oVirt Node 4.4 hosts. Refer Enterprise Linux Hosts or oVirt Nodes
-
You must have at least 2 interfaces on each of the hosts, so that the frontend and backend traffic can be separated out. Having only one network will cause the engine monitoring, client traffic, gluster I/O traffic to all run together and interfere each other. To segregate the backend network, the gluster cluster is formed using the backend network addresses, and the nodes are added to the engine using the frontend network address.
-
You must have a fully qualified domain name prepared for your Engine and the host. Forward and reverse lookup records must both be set in the DNS. The Engine should use the same subnet as the management network.
-
You must have configured passwordless ssh between the first host to itself and the other 2 hosts. This is needed for gdeploy to configure the 3 nodes. gdeploy uses Ansible playbooks and the ability to remotely execute commands is a pre-requisite.
Deploying on Enterprise Linux Hosts
Installing the Required Packages
Installing the packages on the first host
-
On all 3 hosts, subscribe to ovirt repos from https://resources.ovirt.org/pub/yum-repo/ For instance, to subscribe to oVirt 4.4 repo.
# yum install https://resources.ovirt.org/pub/yum-repo/ovirt-release44.rpm - On all 3 hosts, install the following packages:
- cockpit-ovirt-dashboard (provides a UI for the installation)
- vdsm-gluster (plugin to manage gluster services)
# yum install cockpit-ovirt-dashboard vdsm-gluster ovirt-host - On the first host, install the following packages:
- ovirt-engine-appliance (for the Engine virtual machine installation)
- gdeploy (a wrapper tool around Ansible that helps to setup gluster volumes)
# yum install ovirt-engine-appliance
Deploying on oVirt Node based Hosts
oVirt Node contains all the required packages to set up the hyperconverged environment. Refer oVirt Nodes for instructions on installing oVirt Node on your hosts. You can proceed to setting up the hyperconverged environment if you have 3 oVirt Node based hosts.
Setting up the hyperconverged environment
Steps for installing are detailed in this blog post.
More details on the deployment wizard are explained below
Host selection
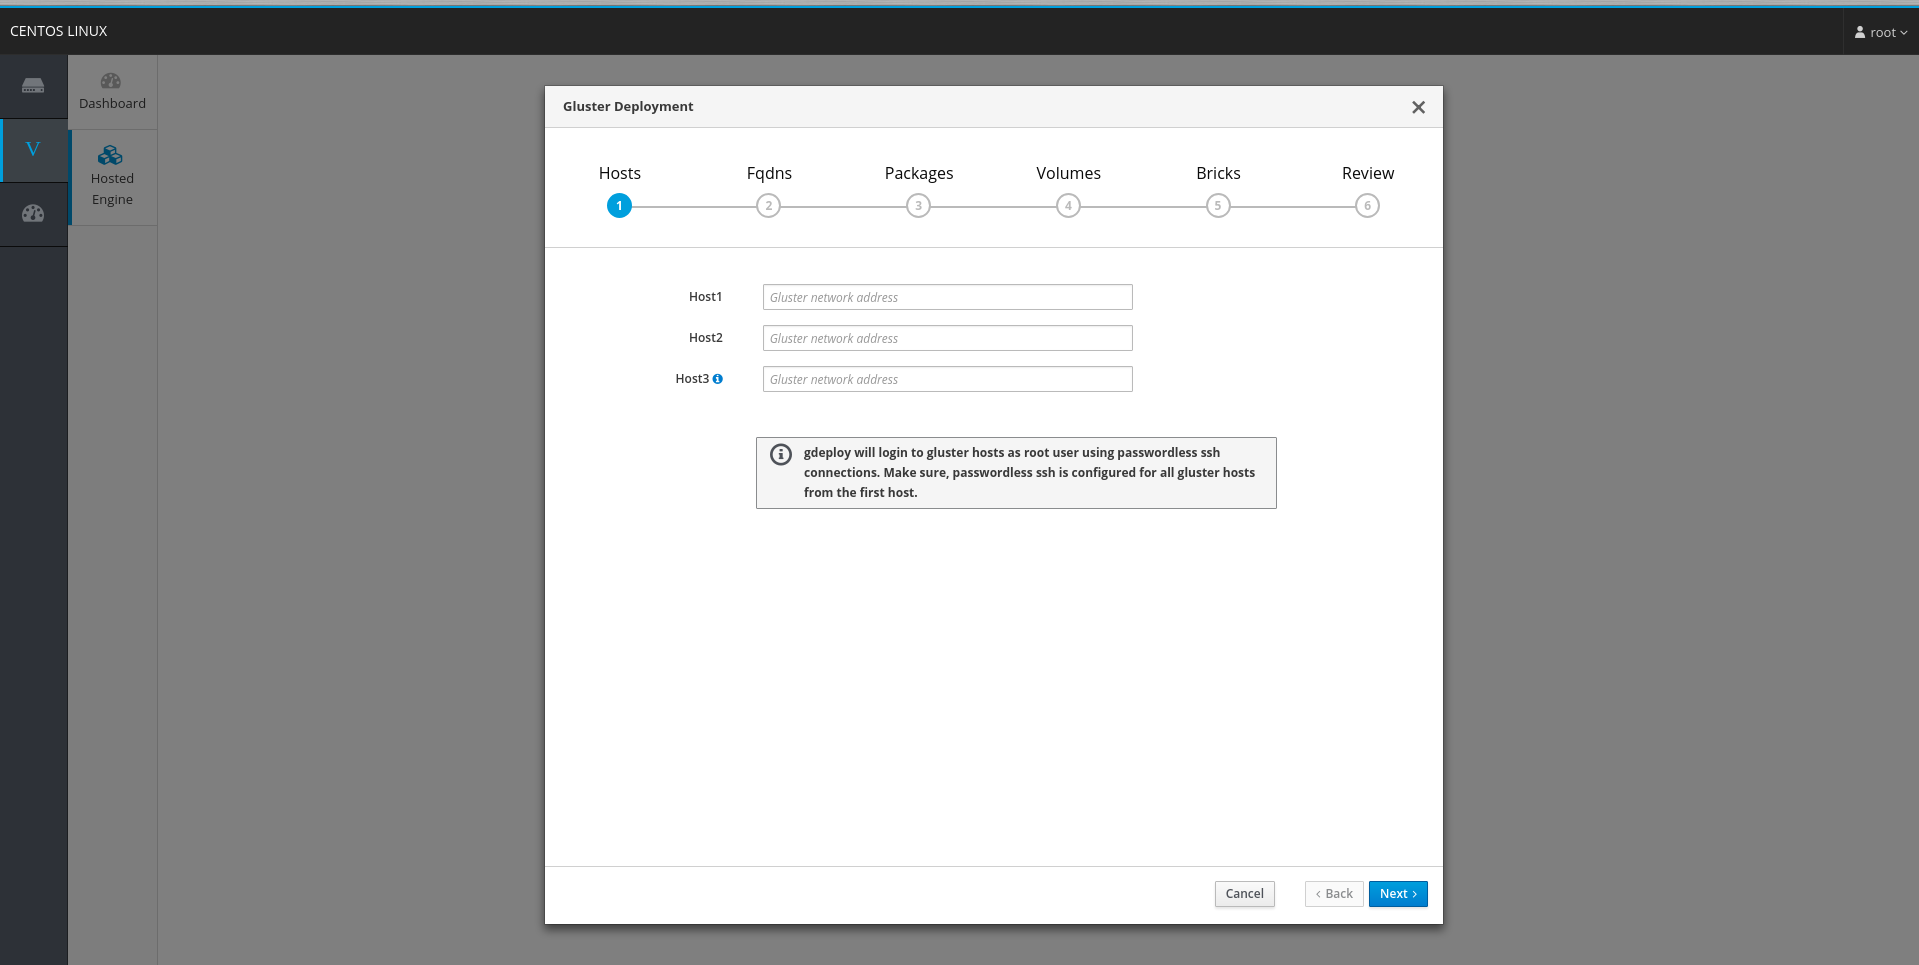
To ensure that GlusterFS related network traffic is segregated on the backend/storage network, the gluster bricks need to be defined using these interface. In this tab, provide the FQDN/IP addresses associated with the backend/storage network so that the bricks are correctly defined during the deployment process.
Cockpit wizard uses ansible to perform the gluster deployment on the hosts. It is required to have key-based authentication setup for root user between the host running the wizard and the 3 addresses providedfor gluster hosts
    On the first host in the list, (from which deployment is run)

    # ssh-keygen
    # ssh-copy-id root@gluster-host1-address
    # ssh-copy-id root@gluster-host2-address
    # ssh-copy-id root@gluster-host3-address
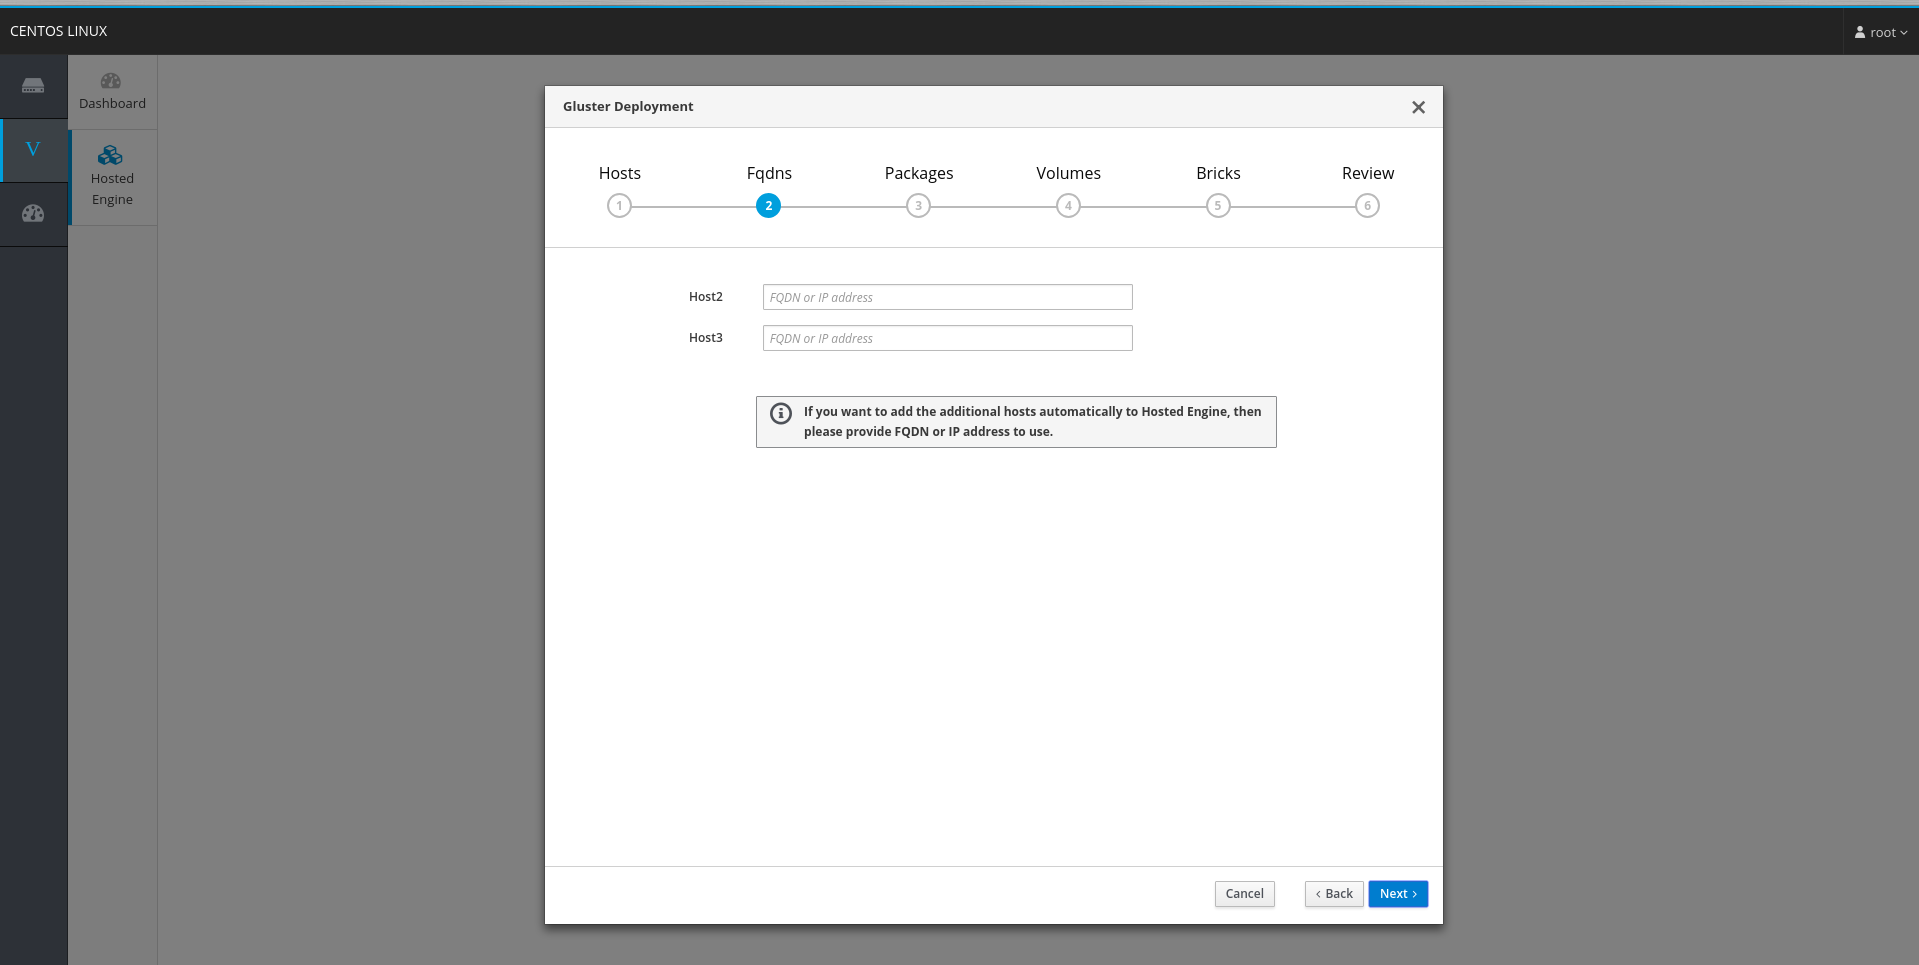
The deployment process also add the 3 hosts to the oVirt engine at the end of the deployment process. To ensure that the hosts are added using the frontend/management network, provide the FQDN to be used for the hosts in the tab below:
FQDN of host1 is input during the Hosted Engine deployment process, hence not asked here
Package selection
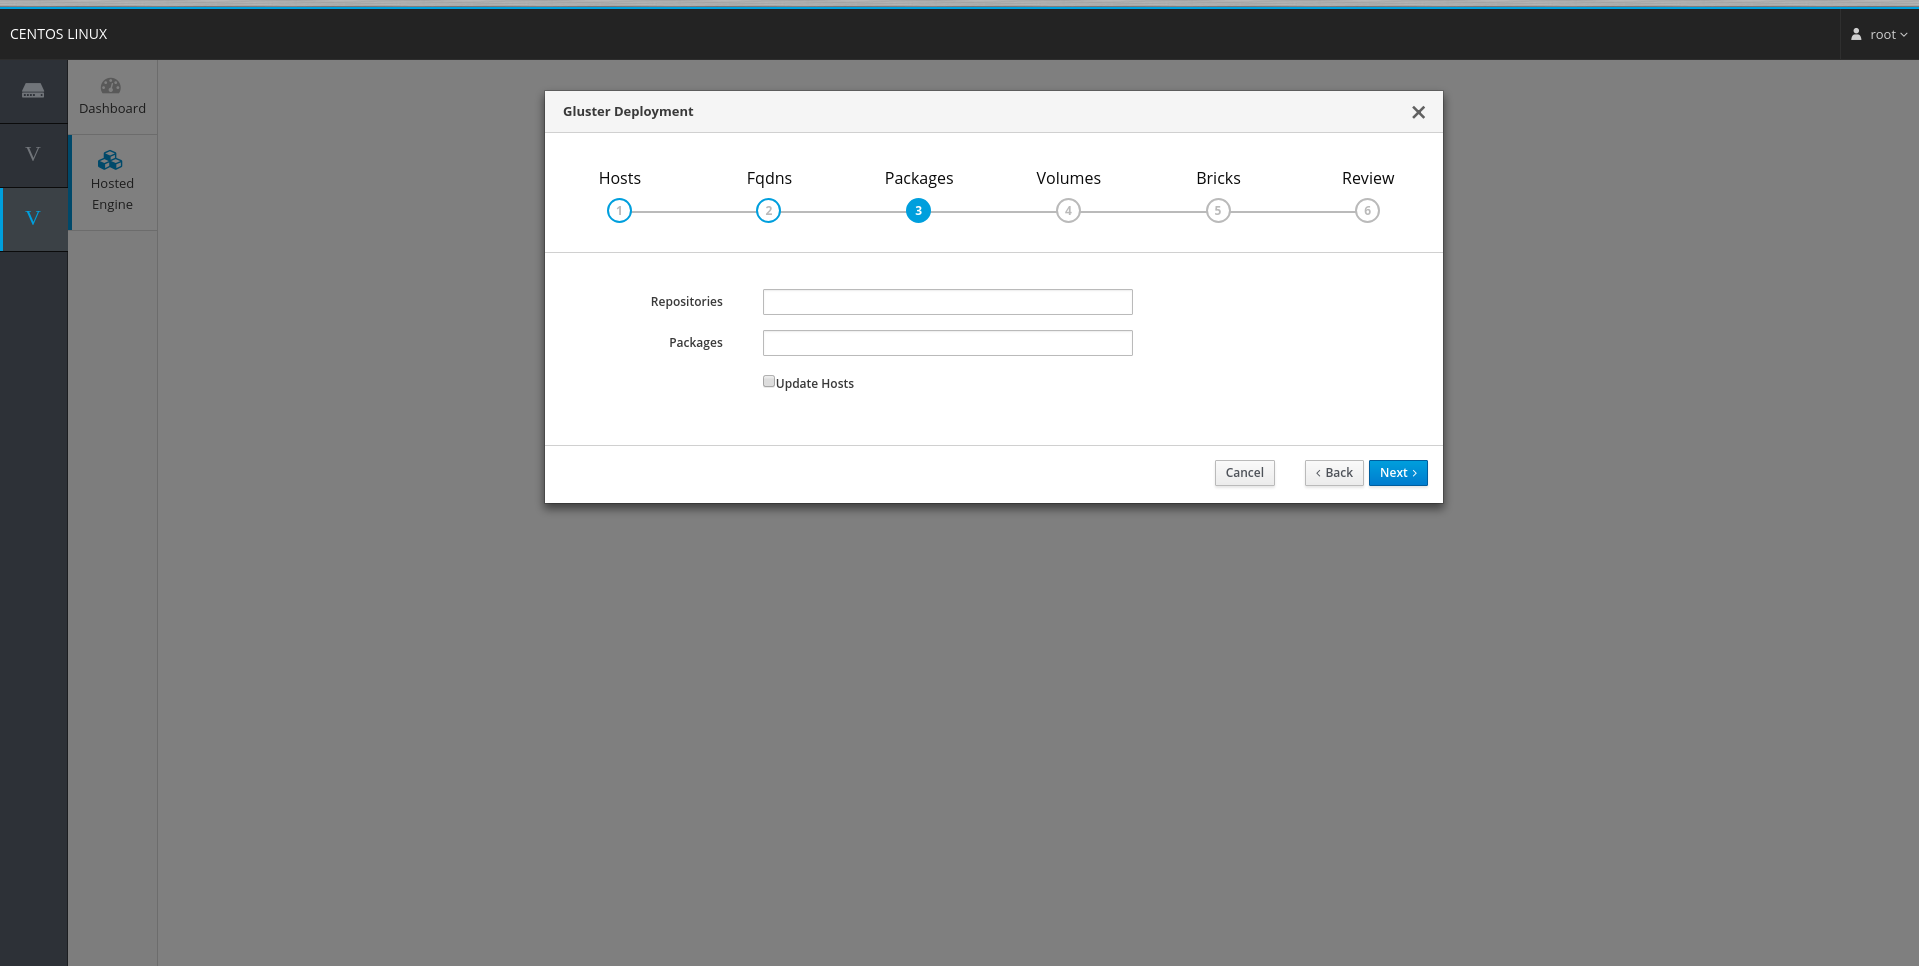
This is an optional step - to install additional packages required on all hosts. If using oVirt-Node based installation, all required packages are already available.
Volume tab
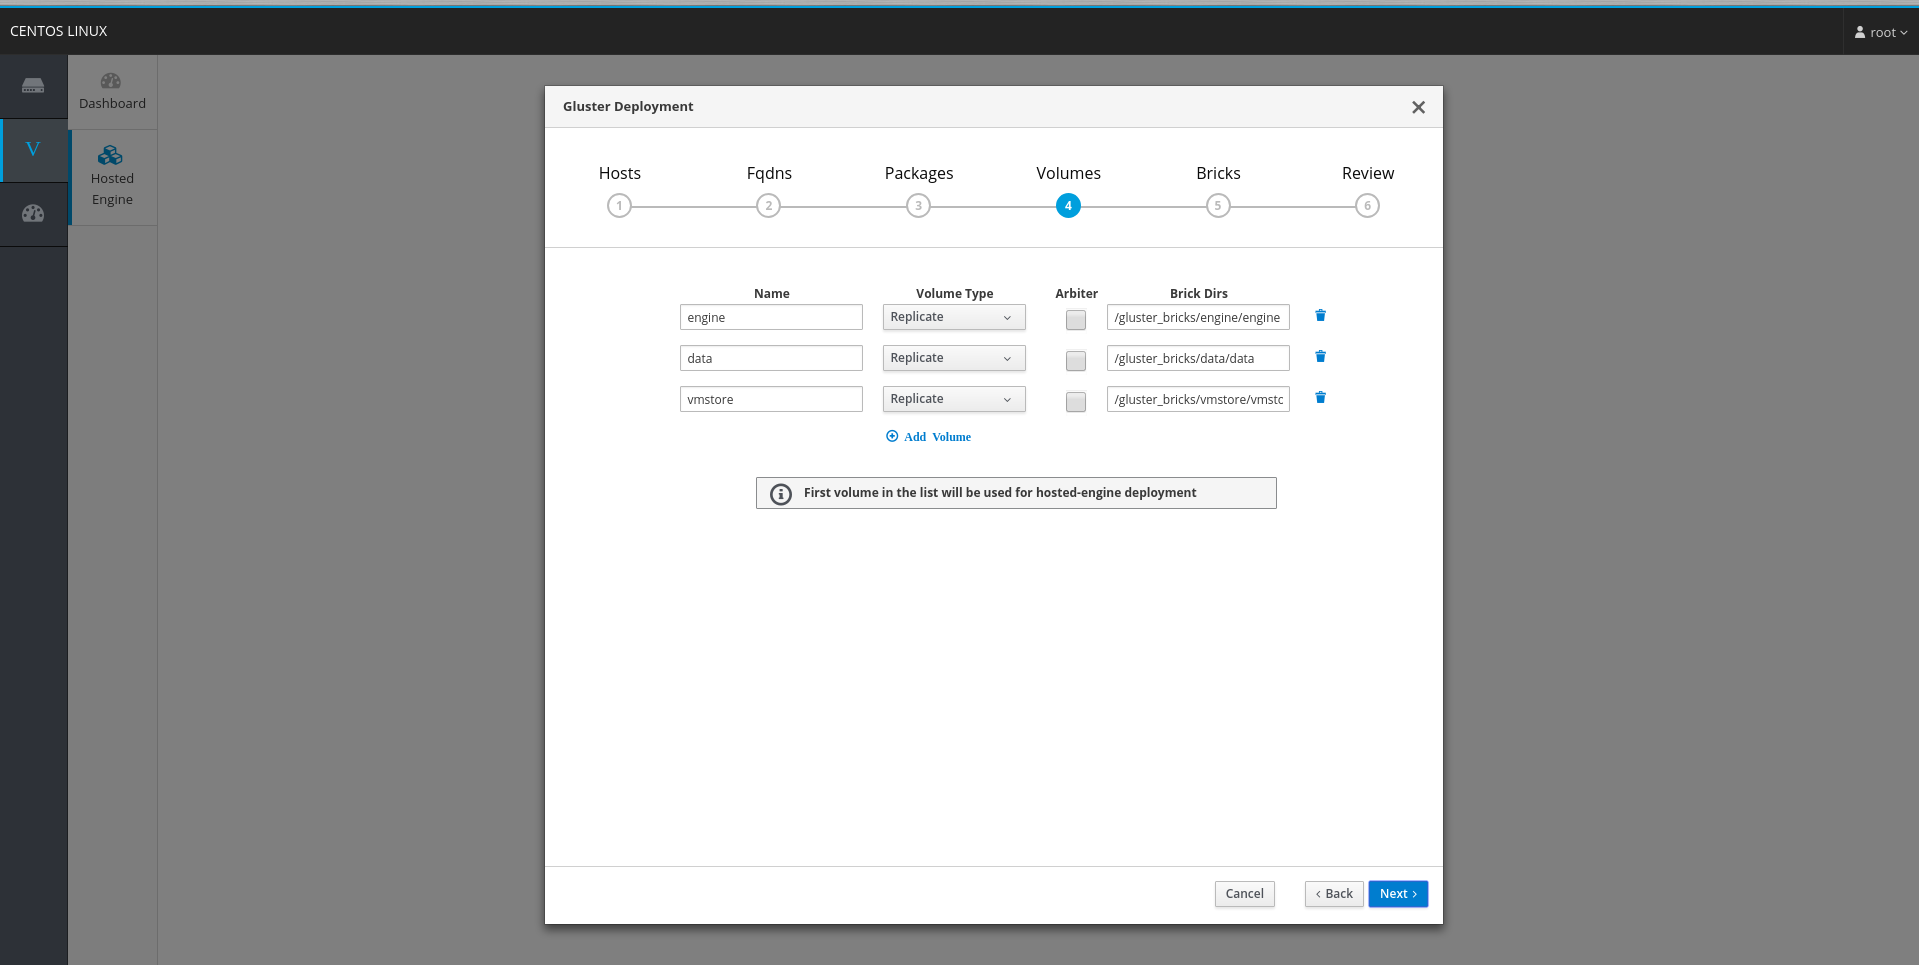
This step in the wizard defines the gluster volumes that need to be created. These gluster volumes will later in the wizard, be used to create storage domains in oVirt. The first volume in the list is used to host the Hosted Engine virtual disk. As a guidance, we ask to create 2 additional gluster volumes
- vmstore : Hosting the OS disks of the virtual machines
- data : Hosting the data disks of the virtual machines
The volumes are separated as above to ease backup, assuming only data volume will need to be backed up
All 3 gluster volumes will be created as Data storage domains.
A gluster volume can be created as an Arbiter type volume, to save on storage capacity. In this case, the 3rd host will not need the same capacity as the first two hosts. Refer Arbiter volume
Brick setup tab
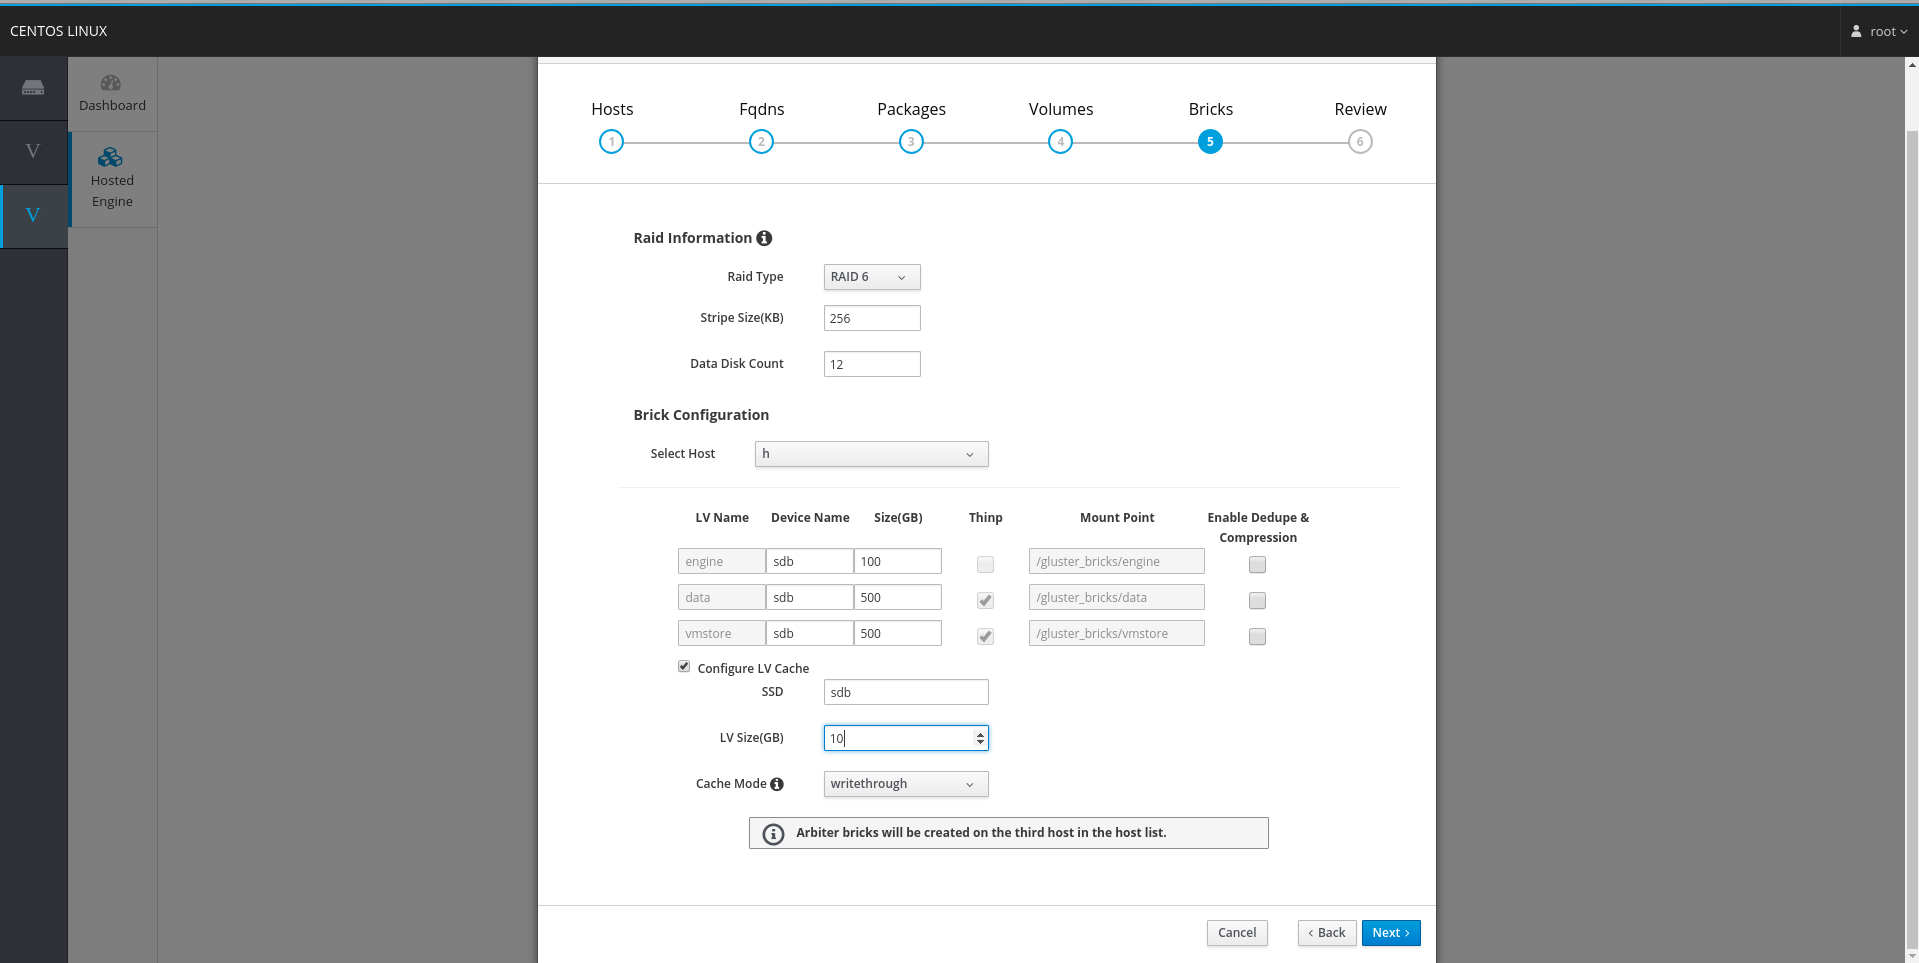
The Bricks tab configures the devices to use for the gluster volumes defined in the previous step.
If the devices used for bricks are configured as RAID devices, provide the information in the RAID information section. These parameters are used to create the optimal alignment values for the LVM and filesystem layers created on the device.
Brick configuration allows for per-host definition of bricks. This is useful in case the device names are not uniform across the hosts.
- LV Name : name used for the logical LV created on brick. This is read-only and based on the gluster volumes defined in previous step
- Device Name: name of device to be used to create the brick. Either the same device or different devices can be used for different gluster volumes. For instance, engine can use device
sdbwhile vmstore and data can use devicesdc - Size (GB): Size of the LV in Gigabytes
- Thinp: Checkbox indicating if the LV should be thinly provisioned or not. Thin provisioned LVs are not supported with dedupe & compression on device
- Mount point: Path where the brick is mounted. Determined from the brick directory provided in previous step
-
Enable Dedupe & Compression: Checkbox indicating if de-duplication and compression should be turned on for the device. Dedupe and compression is provided at the device layer using the vdo module available since el7.5. Read more at dm-vdo. vdo layer will introduce a performance overhead, so it is advised to enable this if you’re using SSD devices
- Configure LV Cache: Use this option to provide an SSD based lvmcache layer if your brick LVs are on spinning devices.
Prev: Chapter: Introduction
Next: Chapter: Additional Steps